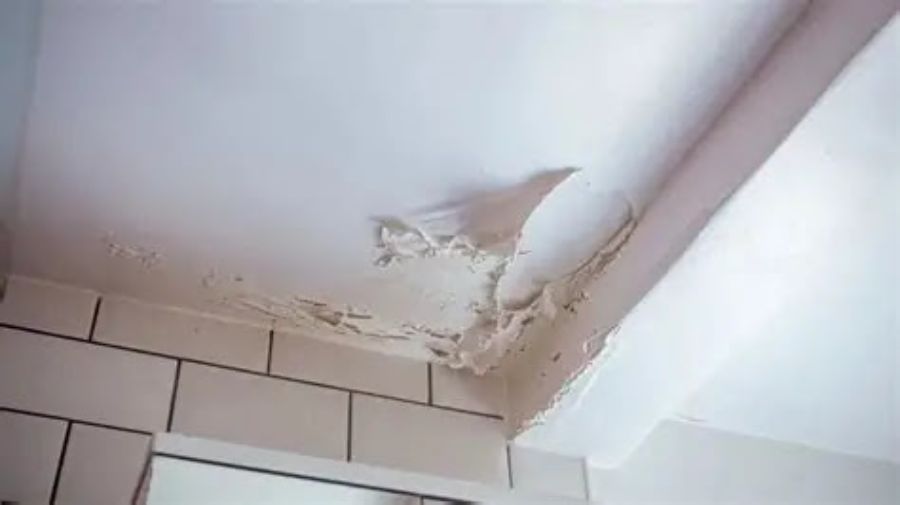
A peeling bathroom ceiling is a common problem, and it usually happens because of moisture and steam.
Bathrooms create a lot of humidity, and if the ceiling was not painted or sealed correctly, the paint can lose its grip and start to peel.
The good news is that this is something most homeowners can fix with time, patience, and the right steps.
The first thing that has to occur is that it has to be determined as to whether or not there is a moisture problem that has to be addressed, if so, that needs to be taken care of.
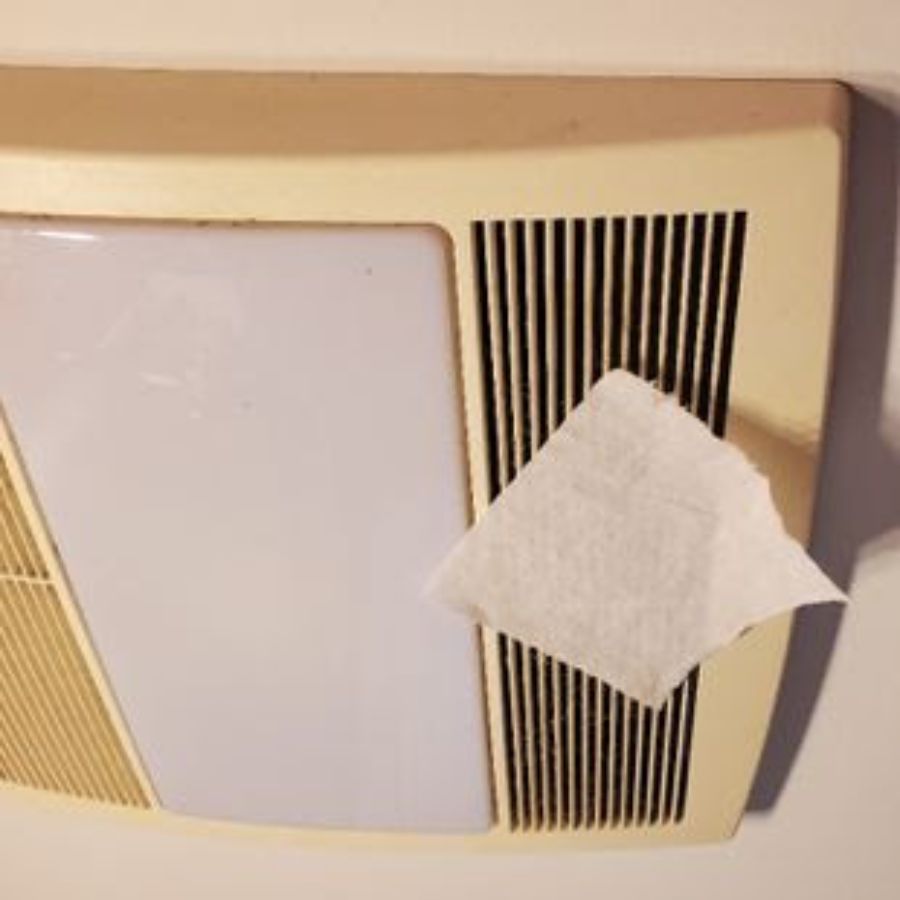
If your bathroom has an exhaust fan, make sure it works well (test it by simply turning it on and placing a piece of toilet paper on the vent part of the fan, if the fan holds the toilet paper, then the suction is working appropriately) and vents air outside.
Run it during showers and for at least twenty minutes afterward if possible.
If there is no fan, opening a window and/or the door after showers will help reduce moisture.
Without some type of ventilation, once the paint is fixed, there is a good chance the ceiling will most likely peel again.
In terms of addressing the actual peeling of the ceiling itself, first lay down a drop cloth to protect the floor and fixtures.
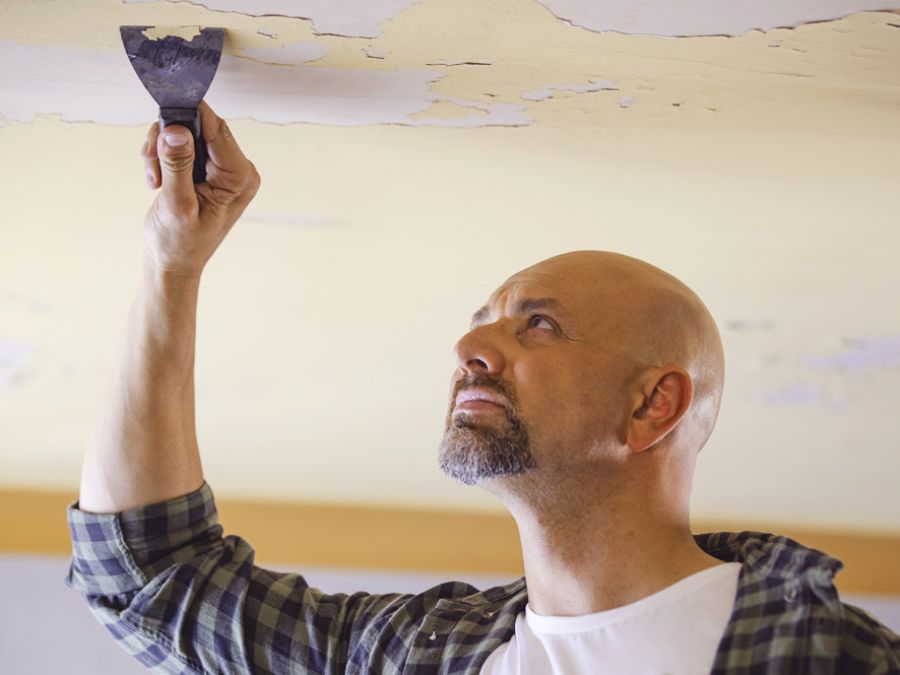
Use a paint scraper or putty knife to remove all loose and peeling paint.
Scrape until you reach paint that is firmly attached.
Lightly sand the edges of the scraped area so it blends smoothly with the rest of the ceiling.
Wipe the surface with a damp cloth to remove dust, then let it dry completely.
The step that I recommend here, which is the ‘secret sauce’, that I believe almost everyone (including 99.9% of home improvement professionals!) is unaware of, is utilizing Mad Dog Crack Fix and applying it over the entire ceiling.
This is a specialty product which works wonders on interior areas where getting paint to properly take may be presenting a challenge.
If after this whole process is completed and the peeling for some reason returns, utilizing the Mad Dog Crack Fix as a trouble shooter in just the areas that continue to peel will be a game changer.
Now check the ceiling for damage.
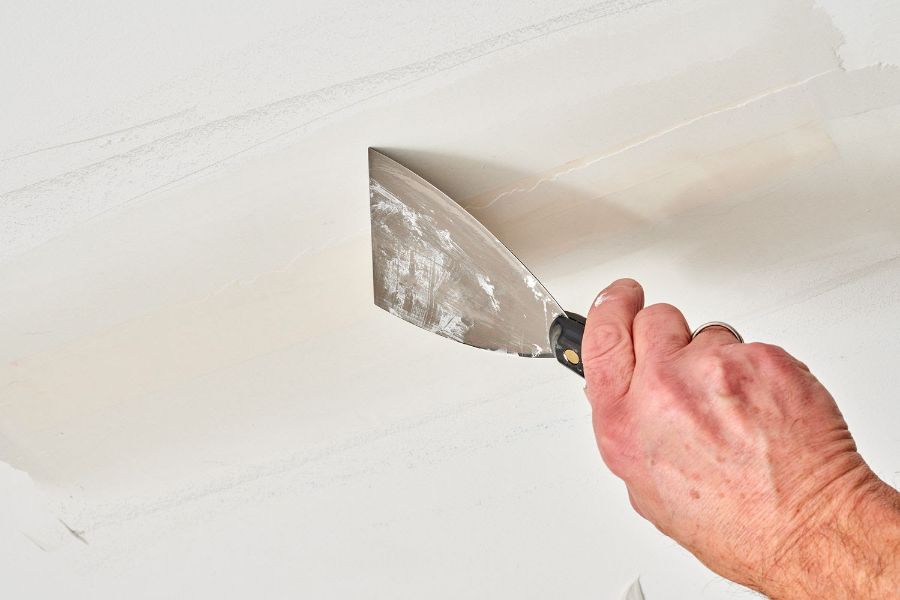
If the ceiling surface looks uneven or has ‘highs and lows’, apply a thin layer of joint compound or spackle to even the surfaces out as necessary.
Use a putty knife to smooth it out.
Let it dry, then sand lightly until the surface feels smooth.
Wipe away dust again before moving on.
The next thing I would do is prime the ceiling with a mold resistant primer made for bathrooms.
This primer will help to further seal the surface as well as helps the new paint to stick.
Apply one even coat and allow it to dry fully according to the label instructions.
Once it is dry, you can inspect the surface to see if there are any other visible voids that need to be corrected with another treatment of joint compound or spackle.
‘Rinse/repeat’ as they say for this part of the process (fill/sand/prime) until the surface has reached an acceptable level of smoothness.
Now it is time to paint.
Choose paint designed for bathrooms that resists mold and mildew.
Avoid flat paint, which does not hold up well in damp spaces.
A satin or semi-gloss finish works better and lasts longer – though my ‘go-to’ product for these types of applications is a Benjamin Moore product called ‘Aura Bath & Spa’ and is actually made in a ‘Matte’ finish.
Apply two thin coats, letting the first coat fully dry before adding the second.
After painting, focus on prevention.
Always use the exhaust fan when showering.
If the ceiling is ever sagging, badly stained, or showing signs of an active leak, you may want to call in the services of a professional.
Those issues need to be addressed before painting.
Take your time during each step.
Rushing can often lead to poor results and more peeling later.
Read product labels carefully and follow drying times.
Using quality tools like a sturdy scraper and good roller also makes a difference.
Work in good lighting so you can see problem spots clearly.
If possible, avoid hot showers for a day or two after painting to let everything cure fully and properly.
This final patient step helps the paint bond stronger and improves durability in a humid bathroom environment long term without future failures occurring.
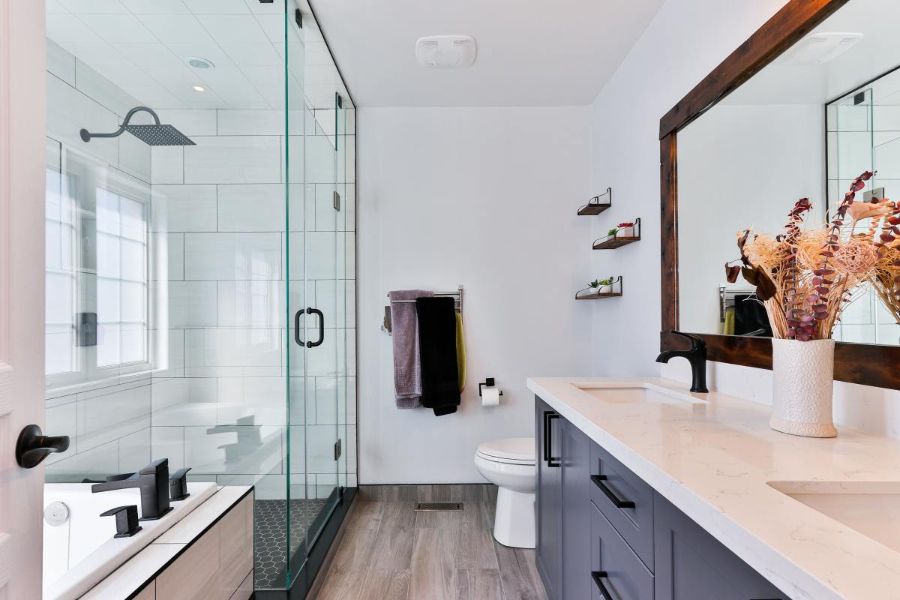
With proper prep, the right materials, and proper ventilation, your bathroom ceiling can stay smooth and peel free for years to come.
Follow Us on Social Media!