Perhaps it is because they are afraid of letting you know, as they would prefer not to get into a long, technical conversation with you.
Perhaps it is because they are afraid that it will somehow add some type of unnecessary “sale preventing” cost to the project, as you probably will not notice anything different anyway.
Or perhaps it is something that they do not recognize is going to happen or that they do not see as a big deal, until fast forwarding to after the project is complete and all of a sudden – it is!
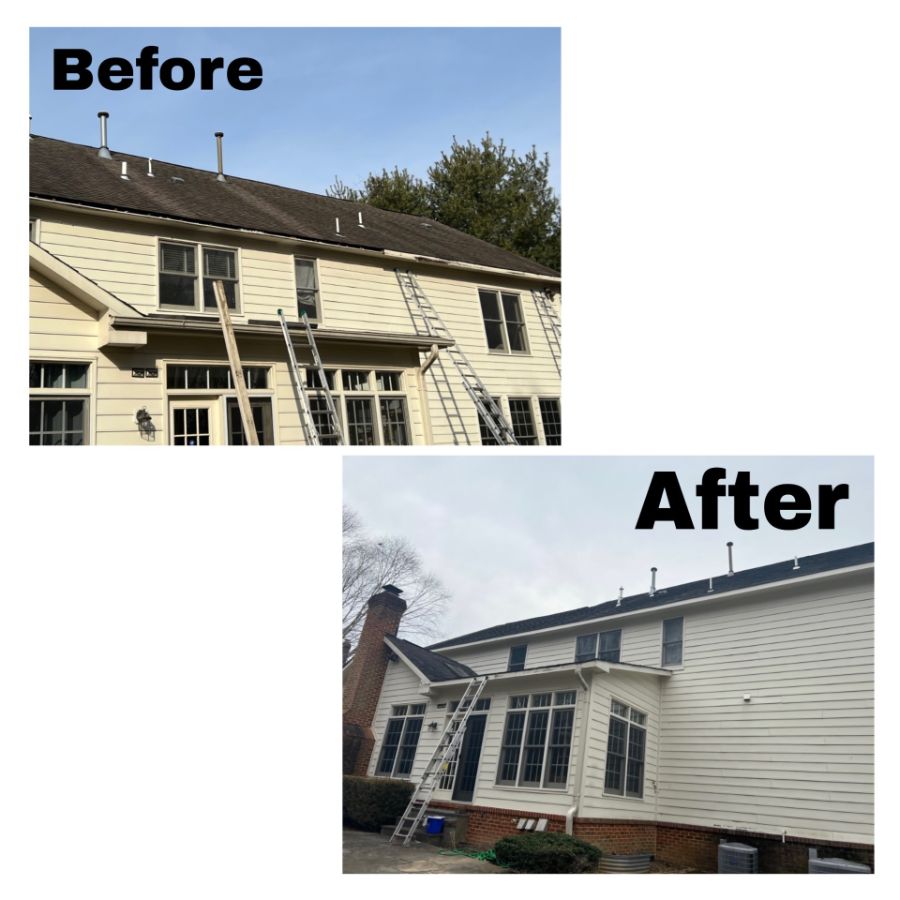
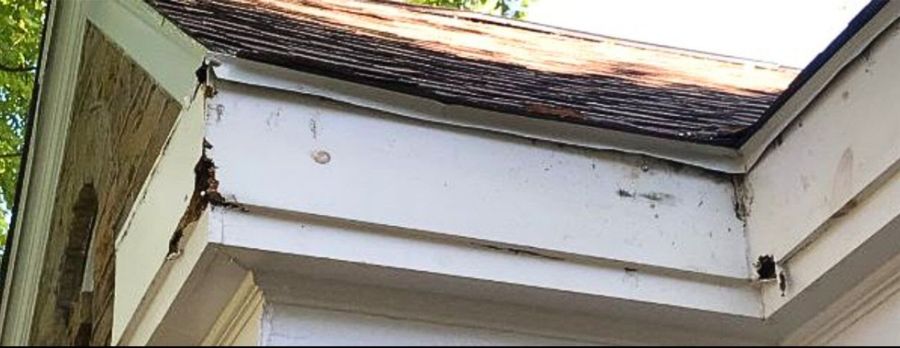
Whatever the case may be, there is a secret item many contractors fail to make their clients aware of when changing out the rotted trim (fascia) that runs along your roofline – particularly when it comes to changing out rotted fascia that has drip edge directly above it (which it should!).
I refer to the fascia as the boards that run around the perimeter of your roof. Its job is to give the roof a finished look, help hold the gutters (where applicable), and protect the edges of the roof from weather.
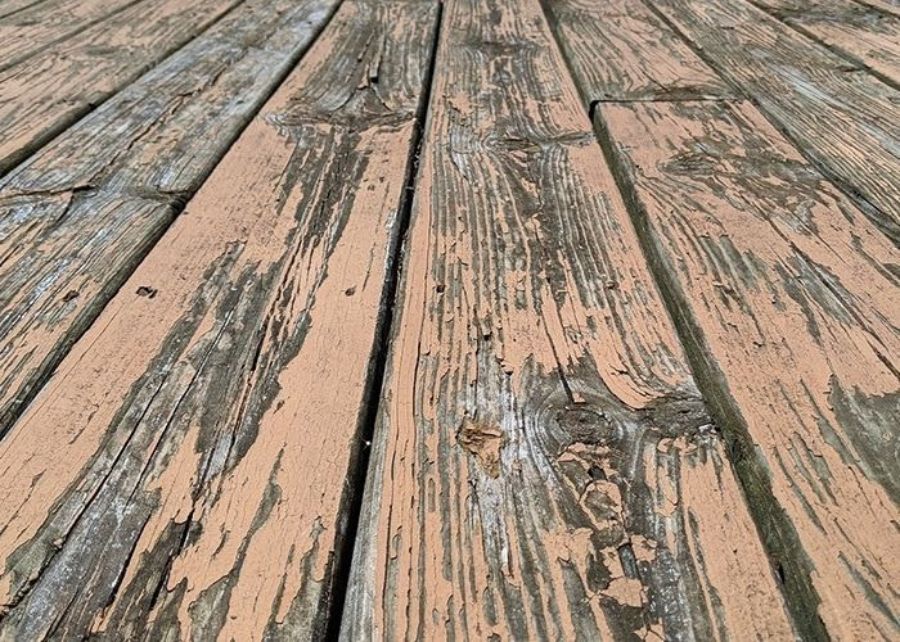
Over time, fascia boards can rot, usually from water exposure.
Replacing them may not be too difficult, but there are some very important things to keep in mind, especially when a drip edge is installed above them.
The first thing to understand is what the drip edge does.
A drip edge is a thin piece of metal flashing that sits right above the fascia, under the roof shingles. Its purpose is to guide rainwater away from the fascia. This prevents water from running down behind the fascia or seeping into the roof structure.
Because the drip edge overlaps the fascia, working around it can be tricky when you need to replace rotted boards.
One key item to be aware of is that you may need to temporarily (VERY carefully!) bend up the drip edge to massage the old fascia board out and put the new one in place.
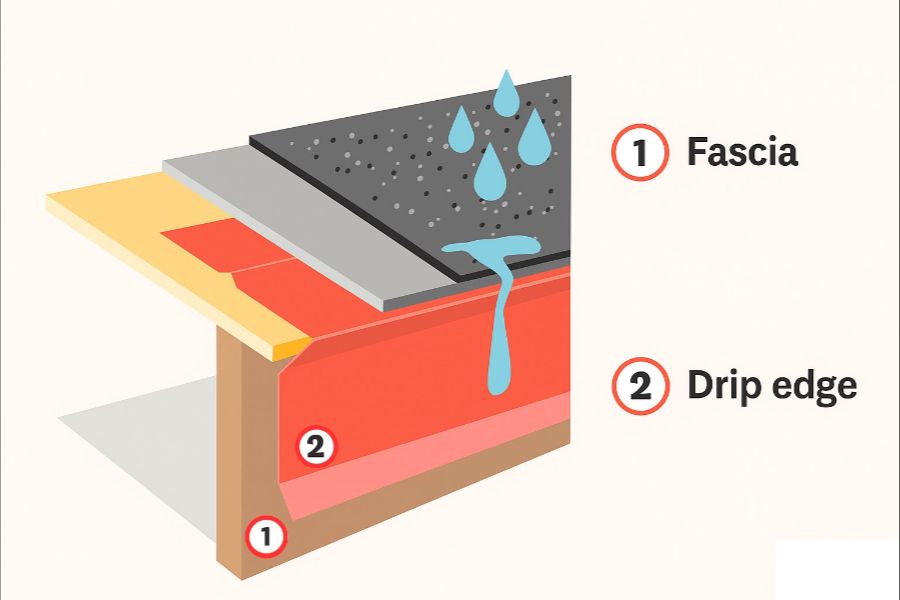
If you try to force the fascia out without adjusting the drip edge, you can easily bend or damage the flashing – ESPECIALLY if there happen to be roof
nails that have been nailed through the horizontal flashing section of the drip edge (the part protected by the roof shingles) and also penetrate and fasten themselves into the portion of the fascia piece directly under the roof.
Mangled drip edge may no longer direct water properly, which could lead to MORE rot in the future.
Taking your time here is very important.
When choosing materials for replacement, you may want to use a more rot-resistant wood like cedar or redwood, or even a composite or PVC trim board that does not absorb water (these options can last much longer than regular
pine).
If using wood for replacement, remember to make sure the board is primed (and perhaps even painted) on all sides after the final wood cuts are made and before installation, to give it the best protection against moisture.
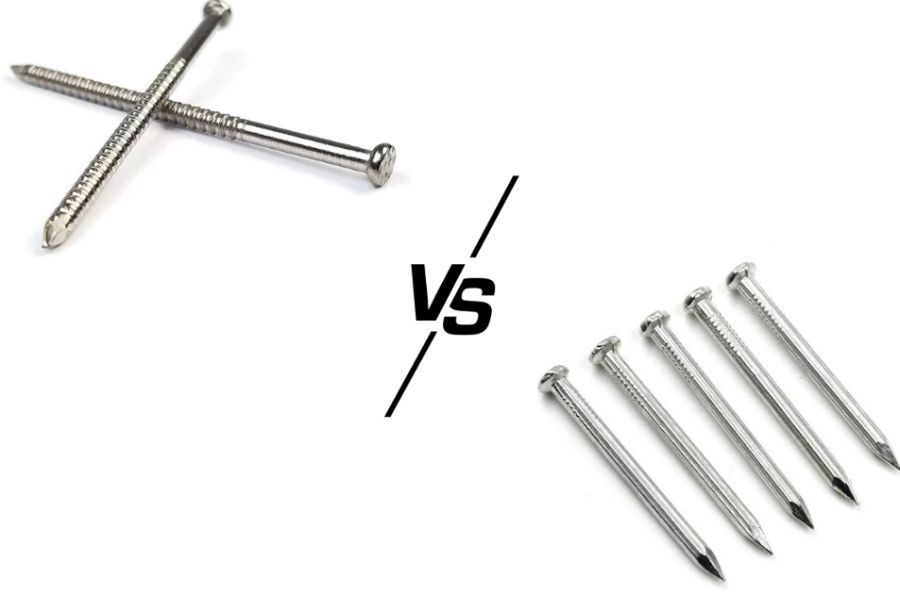
Fastening is also important. Use corrosion-resistant nails or screws (I prefer stainless steel ring nails or if using composite material, hidden fastening systems that are capped with tiny caps after they are fastened in place), since regular steel fasteners can rust and stain the wood.
As it is being put into place, make sure the board is snug against any applicable structural members with no gaps where water could sneak in.
Once the new fascia is installed, carefully reposition the drip edge so it overlaps correctly.
I often forewarn our clients that we will be as gentle as possible throughout this process and that the drip edge will be functionally sound after the repair has been conducted, though cosmetically, there is a fair chance that you might be able to tell something happened in its vicinity once the repair is completed.
Contrary to the way I have often noticed this situation to be approached, communicating proper expectations with this type of sensitive repair always seems to go a long way toward reassuring folks that they have hired the right person to do the job in the first place.