A number of years back there simply was almost no question.
Painting the trim on the interior of your home with oil paint was undoubtedly the way to go.
Although latex paint was available, there really was no comparison between the quality and durability of oil paint being used on your trim instead of latex paint.
Fast forward through time and to today though, it is pretty much the exact opposite.
Either latex/acrylic/waterborne paints/enamels are the way to go or some type of hybrid that balances the traditional strongpoints of latex paints and enamels (color retention as an example) with those of oil products (durability for example).
This is due to a variety of environmental regulations which have been enacted over the past few decades that have dictated what can and cannot be included within oil paint product formulations.

Although I believe the laws have all been well-intended, the oil products on the market today as a whole are shadows of their former selves and the shift to latex products (both on the consumer side and product development side) has been occurring for some time now.
It is not unusual to come across surfaces in your home – particularly trim – that were painted in oil.
If you are at a point in time where you are considering painting this trim and converting it to a modern trim paint as a finish, there are certain procedures that should happen as part of the process.

If the proper approach is not followed, you could end up having a debacle on your hands as the more modern coating will not properly bond to the older coating and any little nick in the paint coating could lead to the paint peeling in sheets right off of the trim (not to mention the fact that you will have quite the scenario on your hands if you would like to go back and fix it at this point!).
Painting over oil-based surfaces with modern latex coatings can be done successfully with the right steps.
First, clean the surface thoroughly to remove any dirt, grease, or grime. Use soap and water or a mild cleaner, then rinse and let it dry.

Next, you need to sand the oil-based surface lightly with fine-grit sandpaper. This helps the new paint stick better. Be sure to wipe off any dust after sanding to keep the surface clean [use of something called a ‘tack cloth’ (available at most hardware stores) could be helpful here].
After sanding, apply a high-quality primer specifically made for oil-based surfaces.

My ‘go-to’ primer for this application is an alcohol-based shellac primer called ‘BIN’, made by the Zinsser company (although very ‘stinky’ for a brief period of time as it dries, it is difficult to beat in terms of its bonding effectiveness!).
The primer helps the latex paint adhere properly and prevents the oil from bleeding through.
Let the primer dry according to the manufacturer’s instructions.
Once the primer is dry, you can start painting.

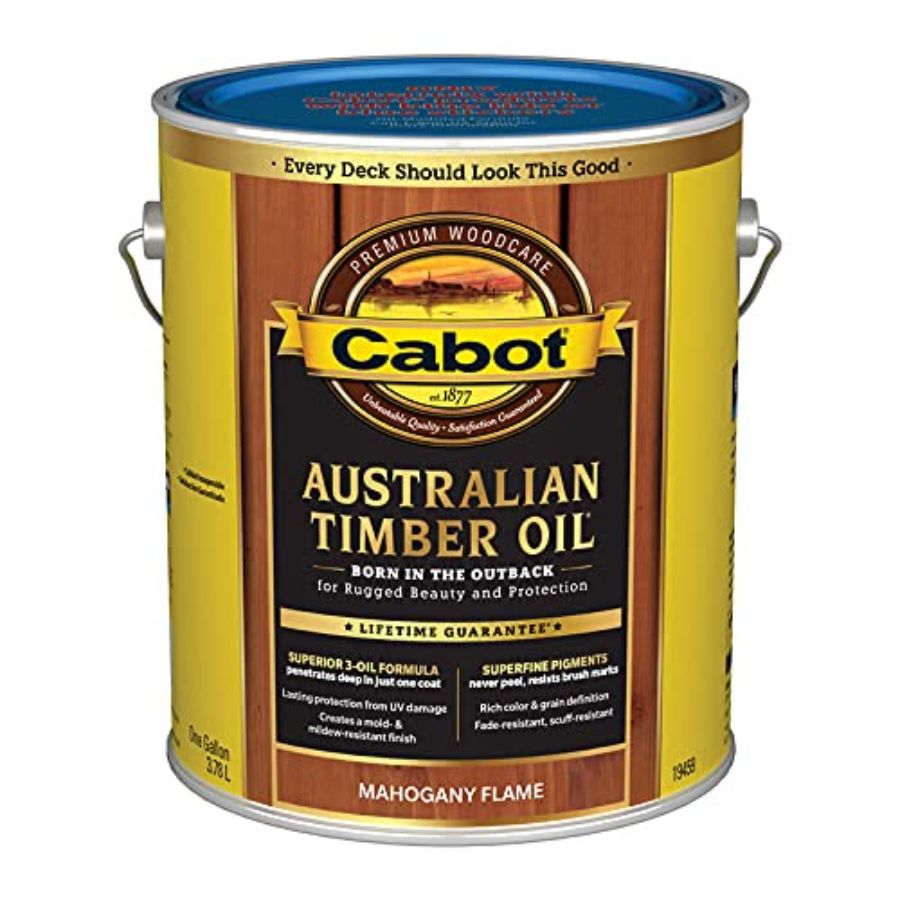
Obviously, use a modern paint coating that is suitable for interior use.
Apply the product with a brush or roller, following the directions on the paint can for the best results.
You might need two coats for a smooth finish.
Let the paint cure for several days to ensure it hardens properly.

By following these steps, you can achieve a great-looking finish when transitioning from oil to latex/acrylic/waterborne paints/enamels and one that you can be assured will be long-lasting for years to come!
Follow Us on Social Media!