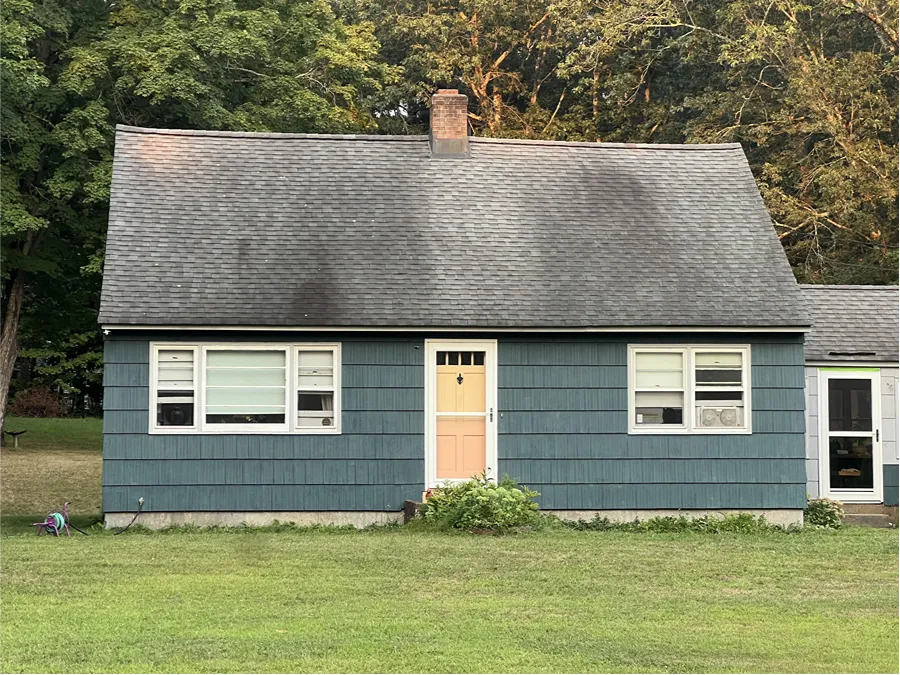
When approaching painting the exterior of your home, it is no secret that proper surface preparation should be the single most important focus in order to best ensure maximizing the longevity of the exterior paint coating.
Obviously, there are other factors involved as well (quality of paint, etc.), but correct surface preparation more so than any other item is the best way to guarantee that your home looks as beautiful as possible for as long as possible after your paint job has been completed.
Cleaning the surfaces being painted, utilizing caulk and putty to fill cracks and nail holes, and priming with a robust priming system are all part of this process, however, just as important (if not more so than any of these) is working to make sure that the surface you are going to be painting is as sound as possible.
Addressing any areas of peeling paint is the largest component of this mission and depending upon the type of peeling involved, there are a number of different approaches for executing this properly.

If the home is an older structure (one built before 1978), the possibility of lead paint being somehow embedded into the fibers of the wood on the home is a valid concern, and the rules of engagement will vary quite differently than for a home built during newer time periods.
For contemporary homes, the manner of attack for making sure that any peeling paint issues are neutralized should really begin with attempting to figure out why the paint was peeling in the first place.
Is the paint peeling simply due to normal wear and tear, or is there a deeper issue involved?
In some instances, particularly with modern white cedar shingle and red cedar clapboard siding (that which was installed at some point in time since the mid-1980s), there is the possibility that an issue known as ‘mill glaze’ could be at play and actually could be preventing paint (or primer for that matter) from sticking to these surfaces as all.

Moisture could be a factor as well if it is somehow getting behind the building material that the exterior paint is attached to.
If moisture is getting behind areas that are painted, it could be forcing the paint on the surface in front of it to peel as the sun heats up the side of your home and pulls the moisture out the front face of the painted siding or trim, taking with it any paint that may be sitting on its surfaces in the process.
Assuming that there are no major unique paint failures at play requiring special attention and that any areas of possible moisture infiltration are addressed, the process for preparing peeling paint on a surface to be painted is fairly straightforward from here.
Any of the larger areas of peeling paint should be thoroughly scraped to get as much of the loose paint off as possible.

The modern day superpower known as ‘common sense’ should be prevailing at this point and you should have some type of drop cloth, sheet, or plastic laid down to help protect the areas around where you are working and catch any falling paint chips.
After the peeling areas have been scraped as best as they can be, the next step would be to ‘feather sand’ the edges of the areas of scraped paint left behind and to work the surface so that it is smooth prior to applying primer.
When you move to the next step of ‘priming the surface’, after the primer dries you may decide that more sanding may be necessary, and if so, you are absolutely able to feather sand some more and reprime from there.
Keep working the surface until a sound surface has been achieved and with dried primer on it appears as though things are as smooth as they can be, and voila!, you have properly prepared the exterior peeling paint on your modern home and should be ready for finish coat!!